Molding a Biomaterial Button
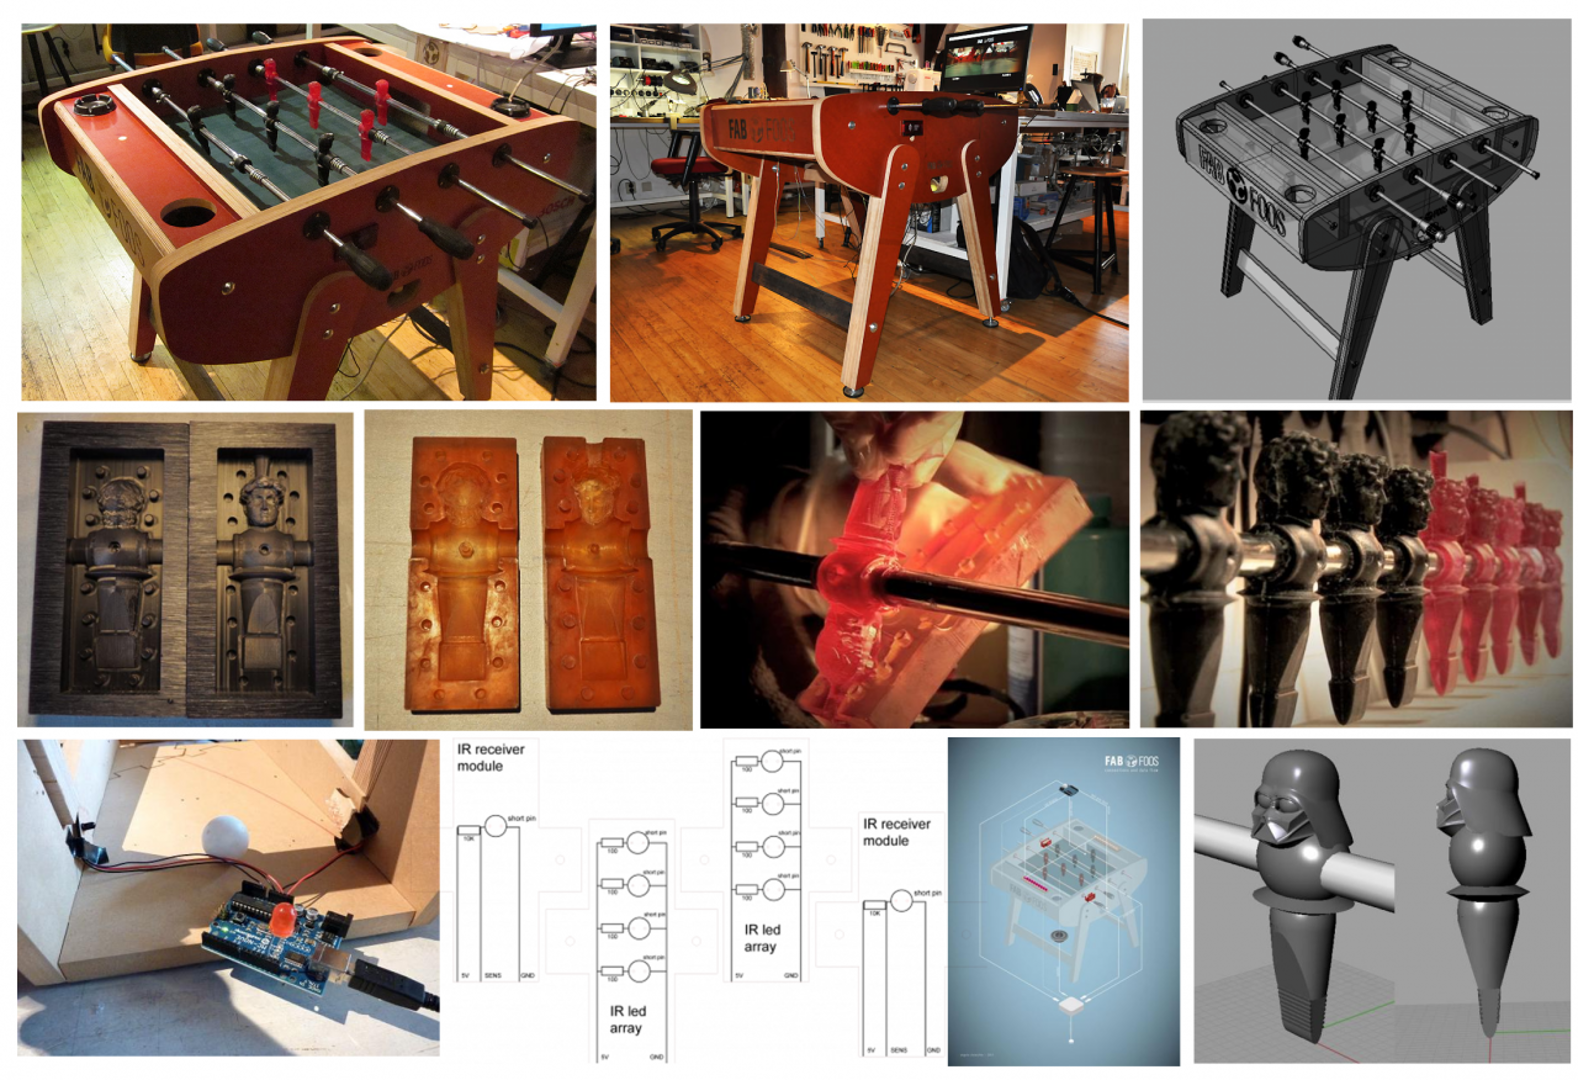
In this class we learned about the different techniques to fabricate a mold and various recipes of bio-based materials. This built upon the Material Intelligence 01 and 02 classes this term.
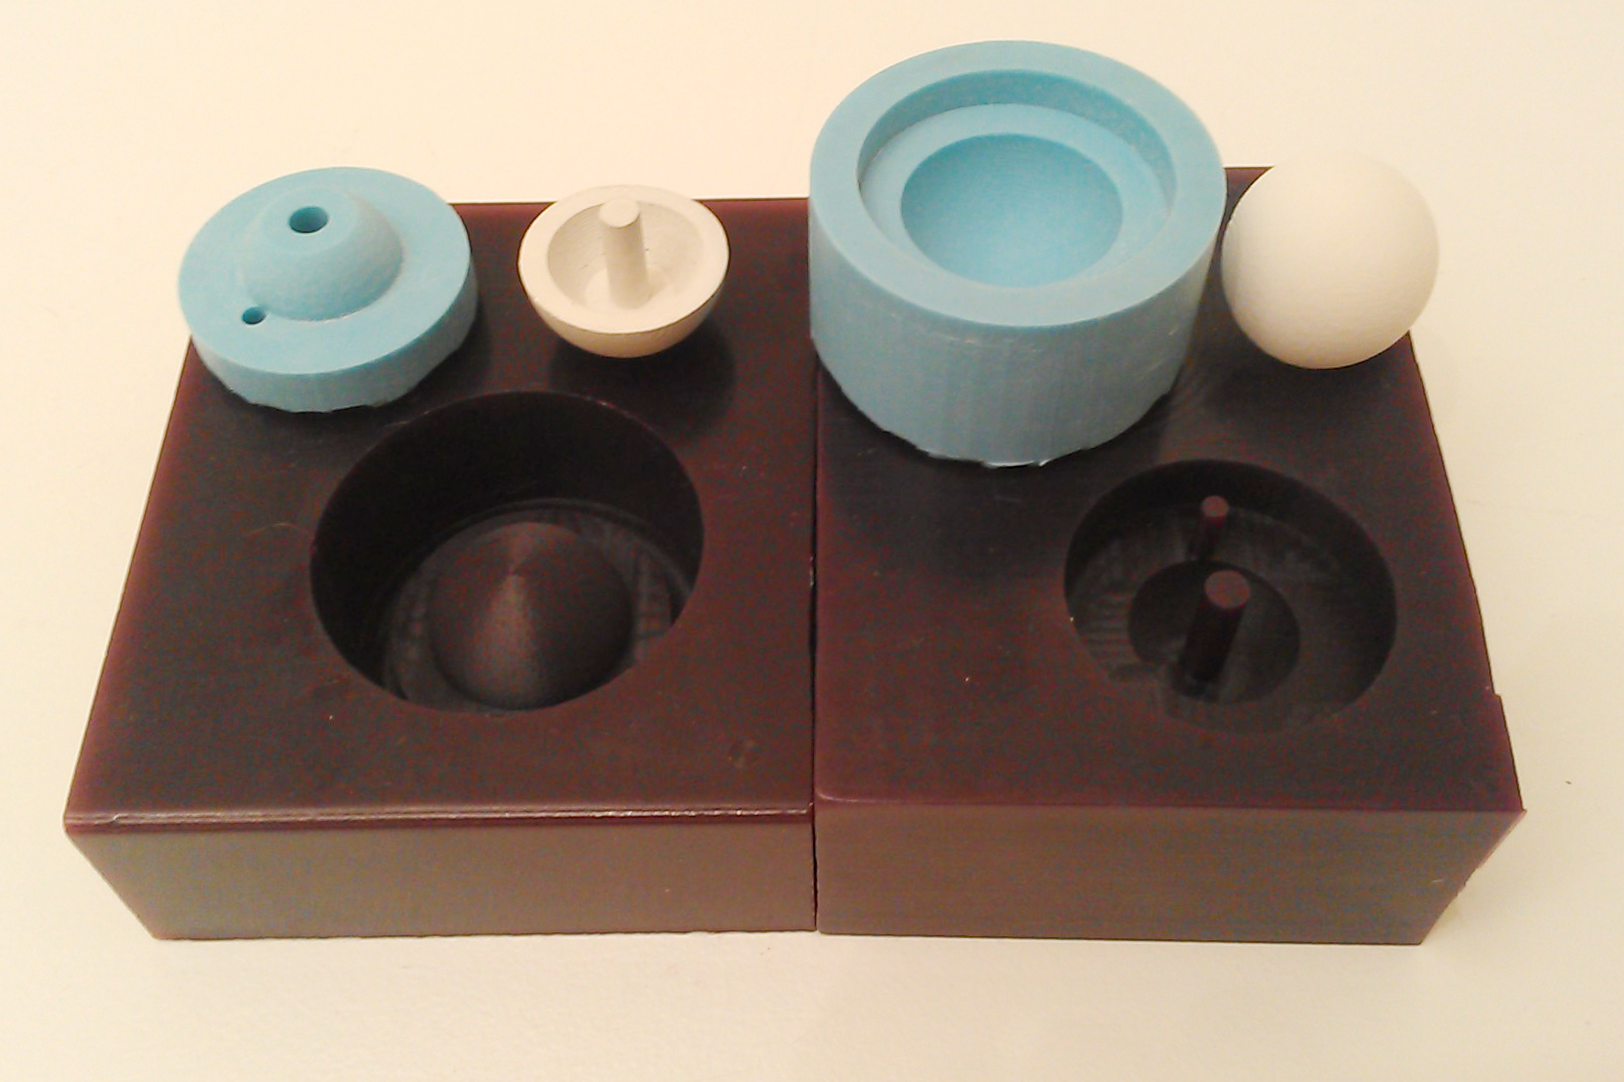
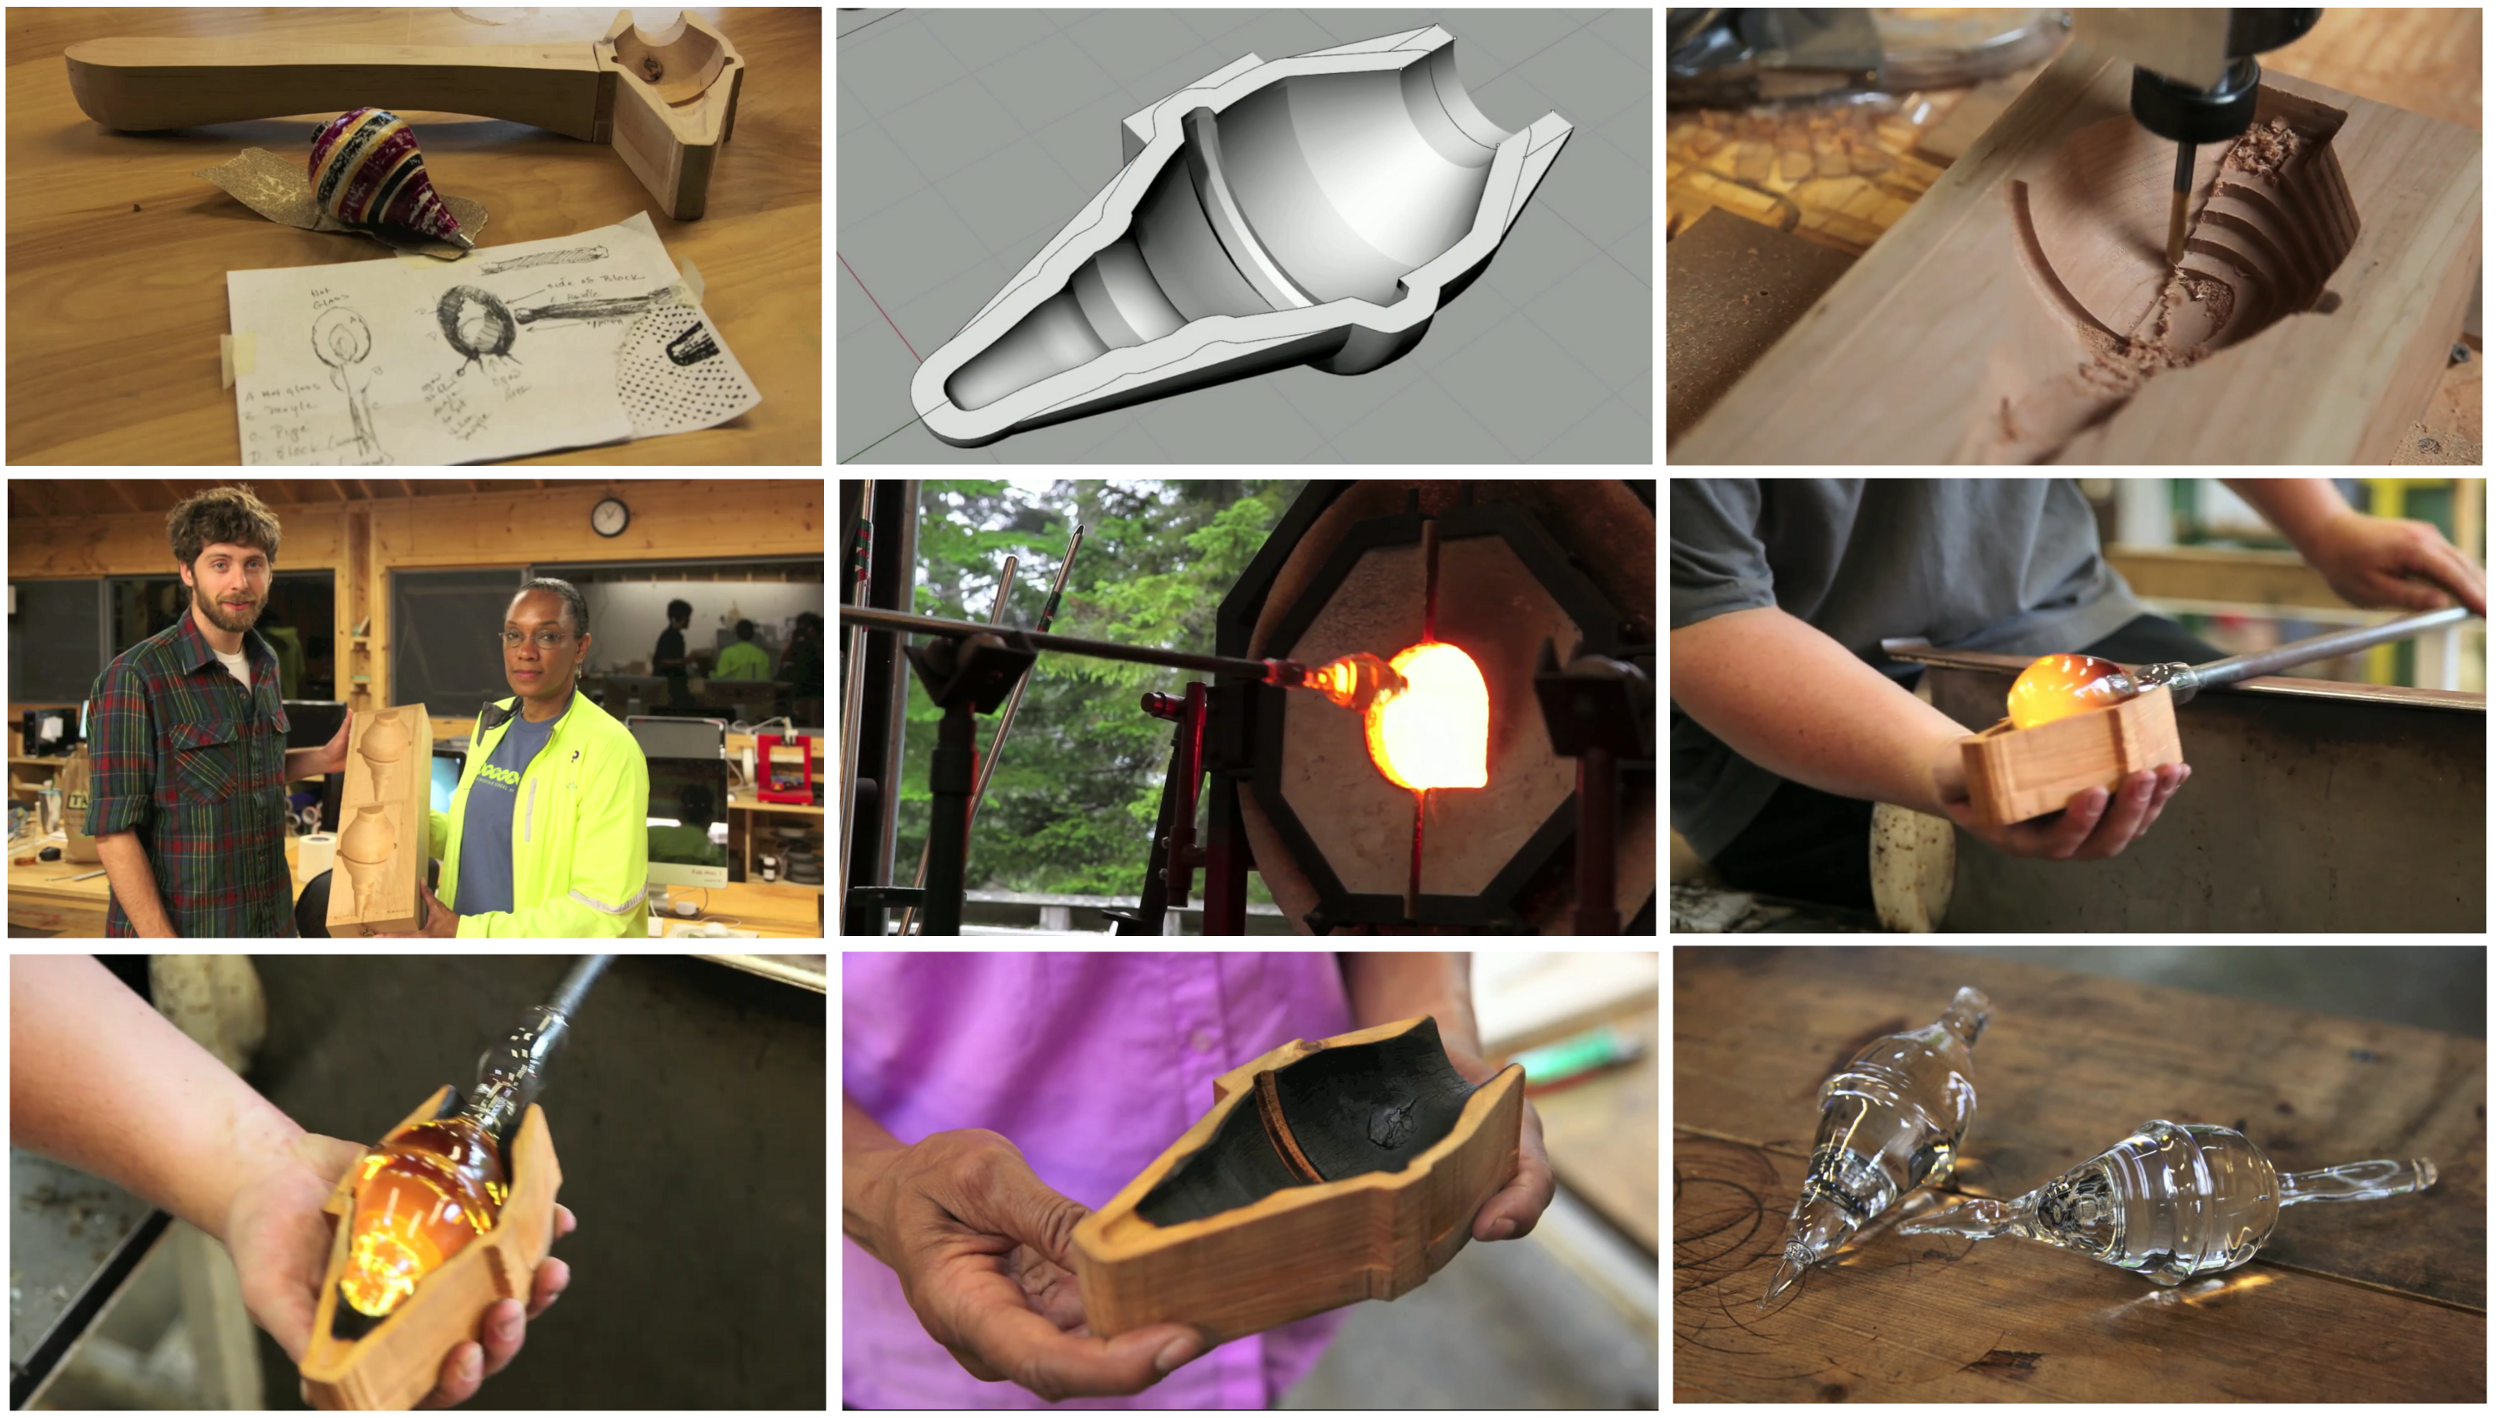
For our interactive A/V installation we are fabricating biomaterial interfaces. The mold was 3D printed in an Ender 3 Pro. The STL files can be found here.

The 3D-printed mold (manufactured in an Ender 3 Pro).
Recipe
Agar Agar :4g
Water: 80 ml
Glycerin: 15 ml

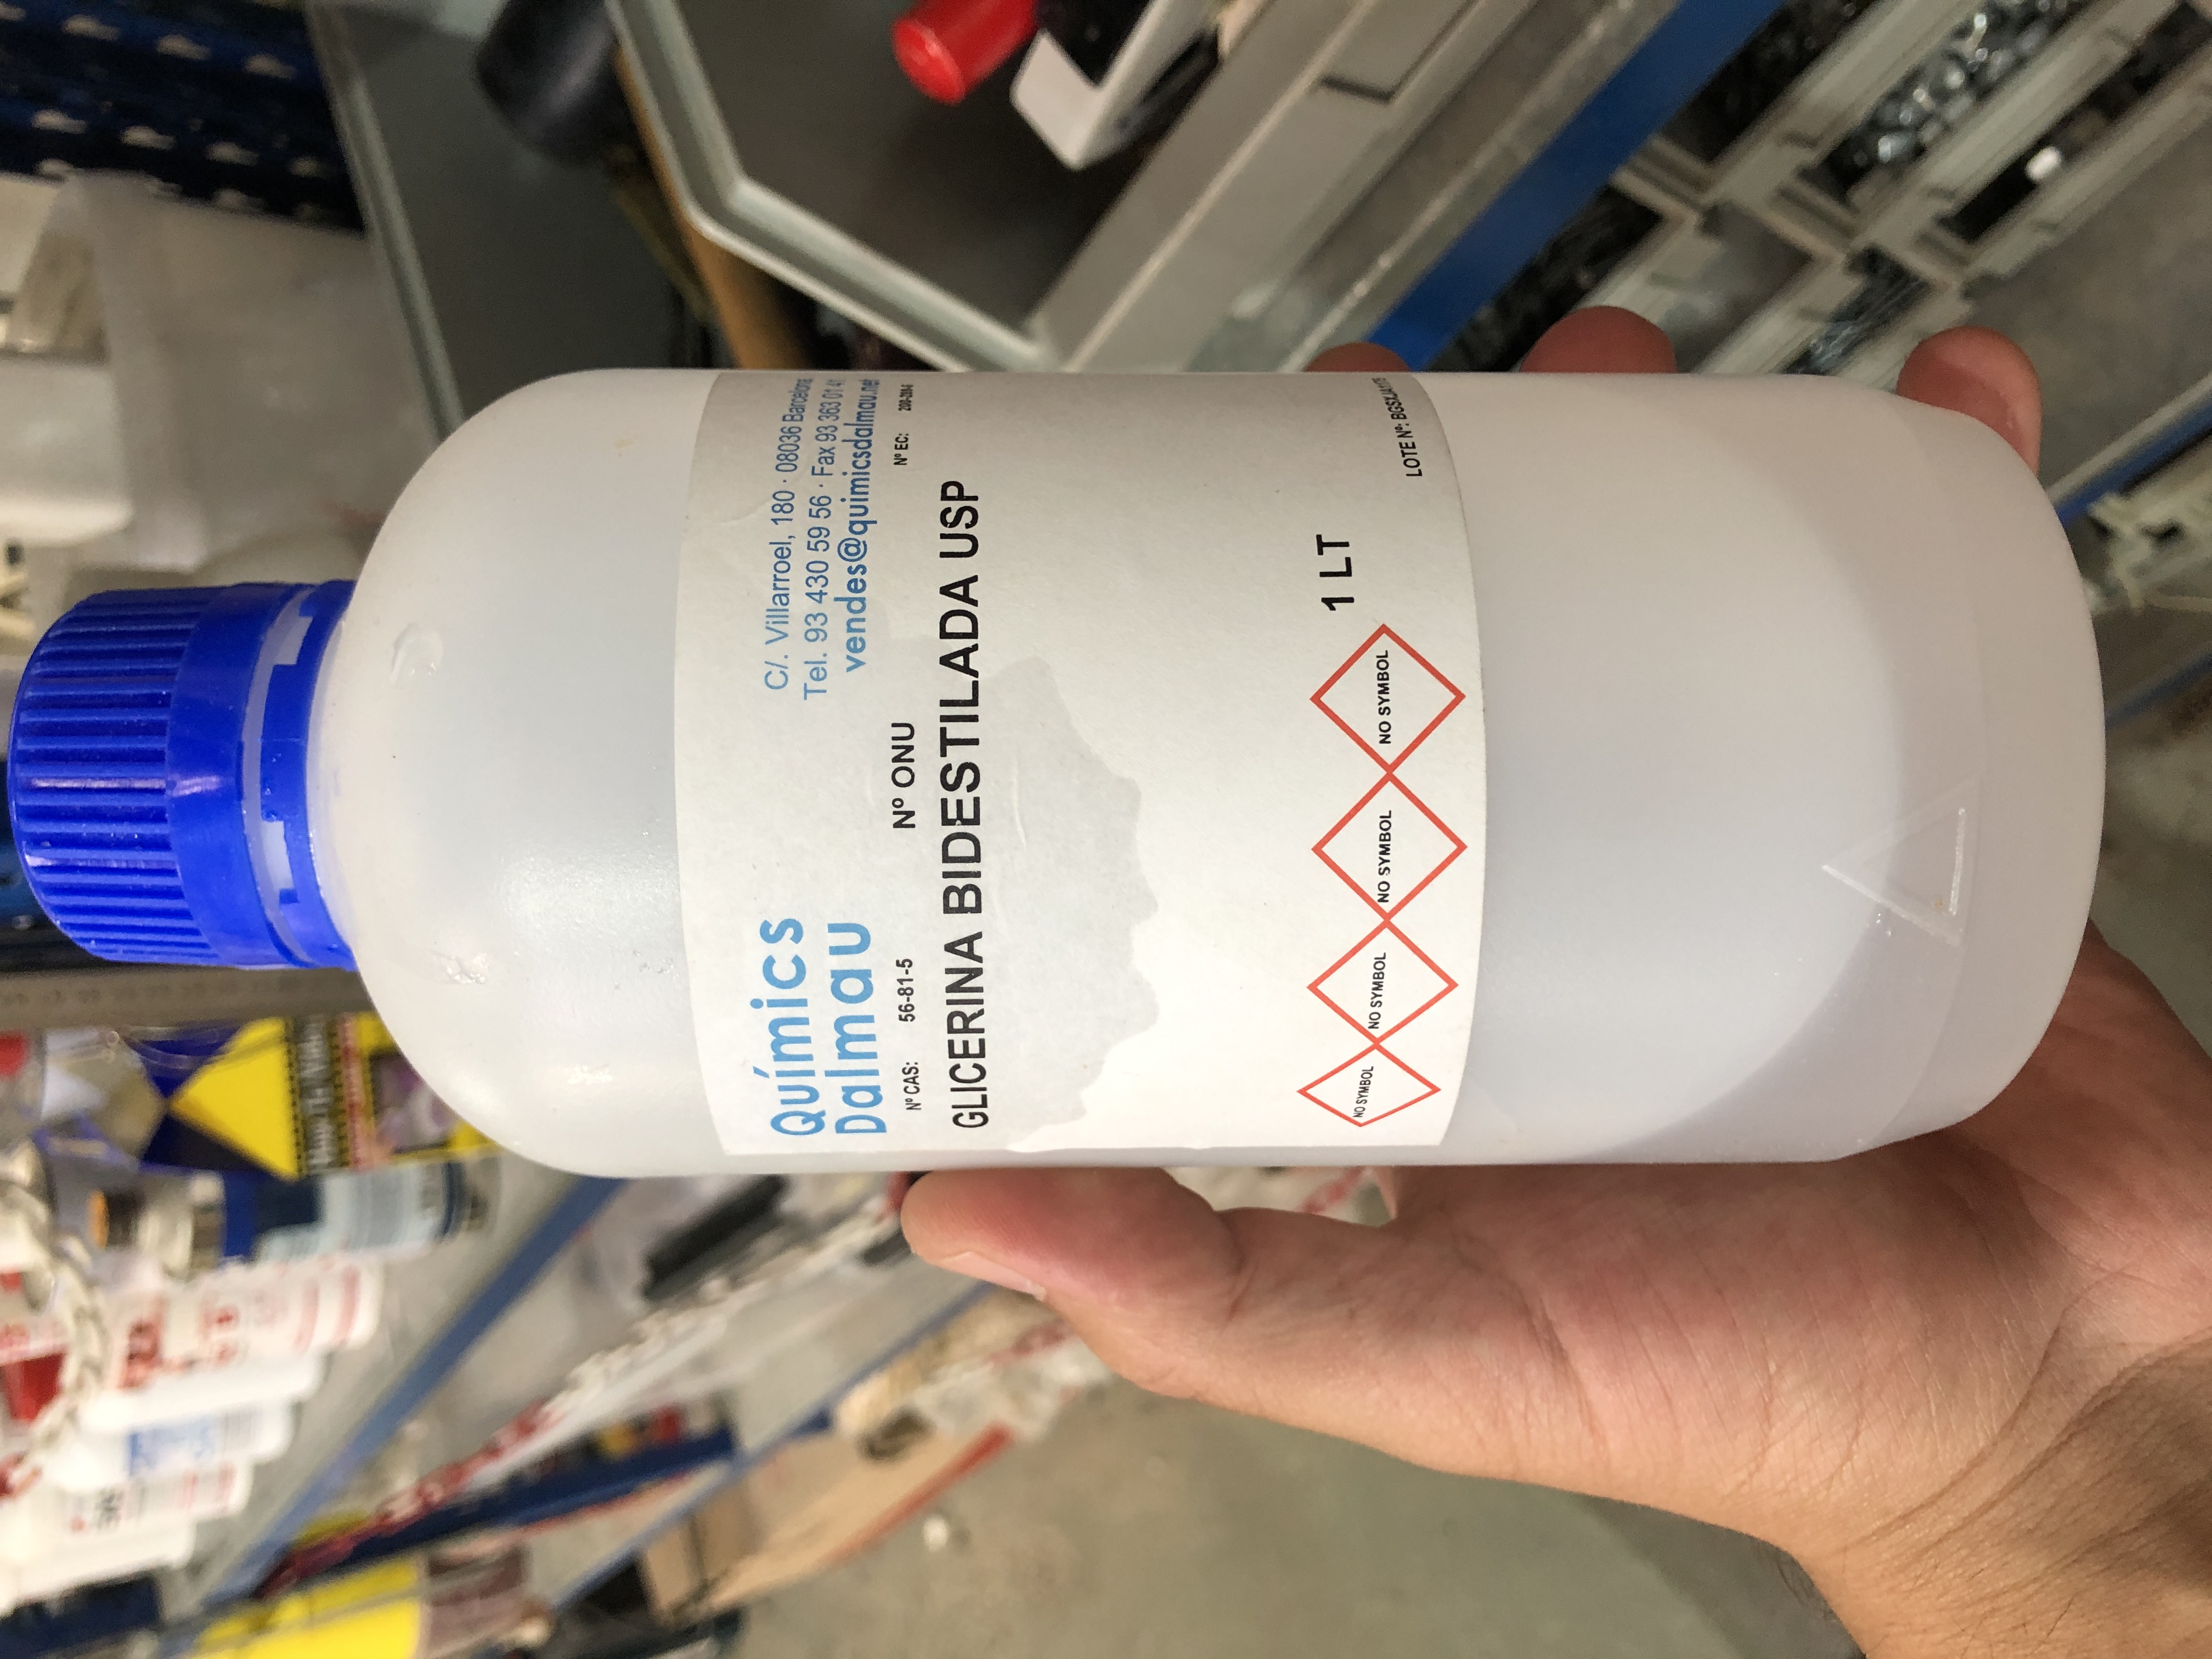
Our key ingredients: Agar Agar (left) and Glycerin (right).
Process & Observation
To produce, mix everything together while its cold and heat it in glass container for 1.30 minutes in a microwave. Pour while hot.
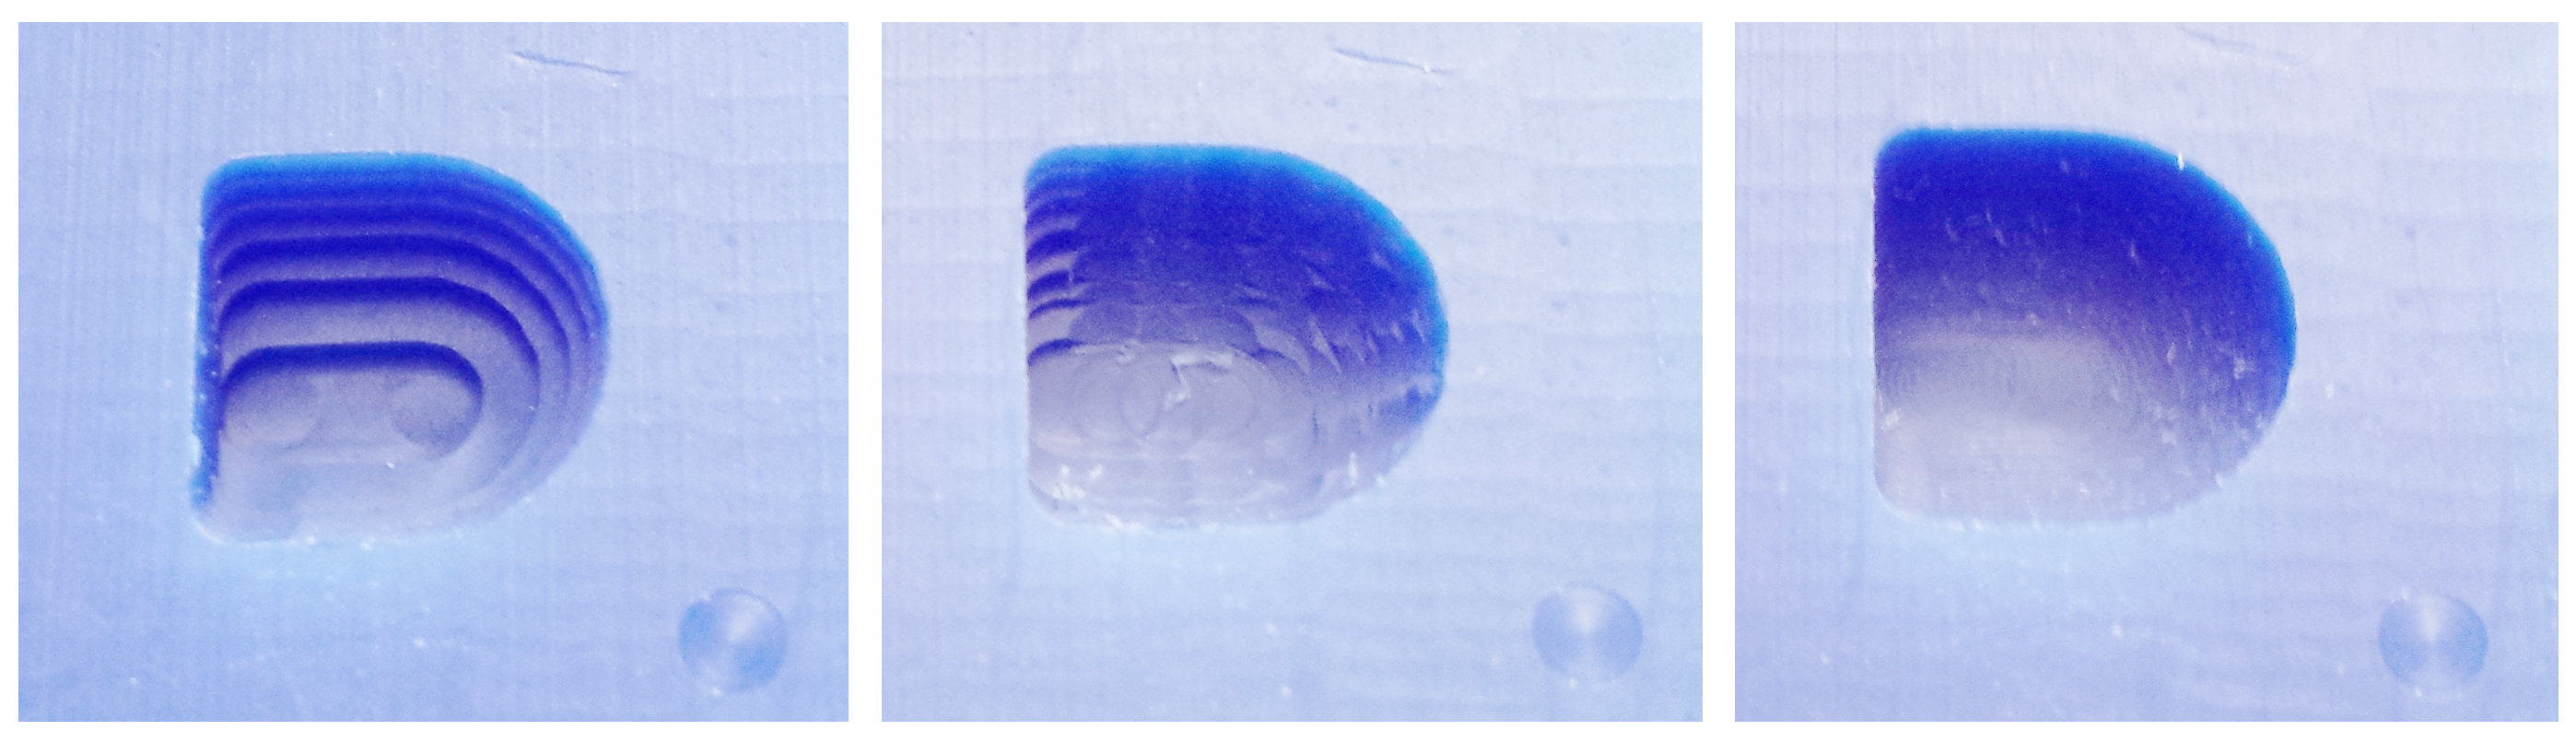
The Resulting biomaterial takes about 4-5 days to dry completely, assuming a mold thickness of max 2cm. It is wet to the touch at first and prone to deformation after exerting slight pressure. It shrinks about 25% during the resulting drying process and changes from slightly milky transparent texture to a yellowish opaque appearance . To reduce the shrinkage and control the shrinking dimensions a bit better, we added two pins in the mold that are meant to fixate the mass in place during the drying process.

Mixing the recipe.
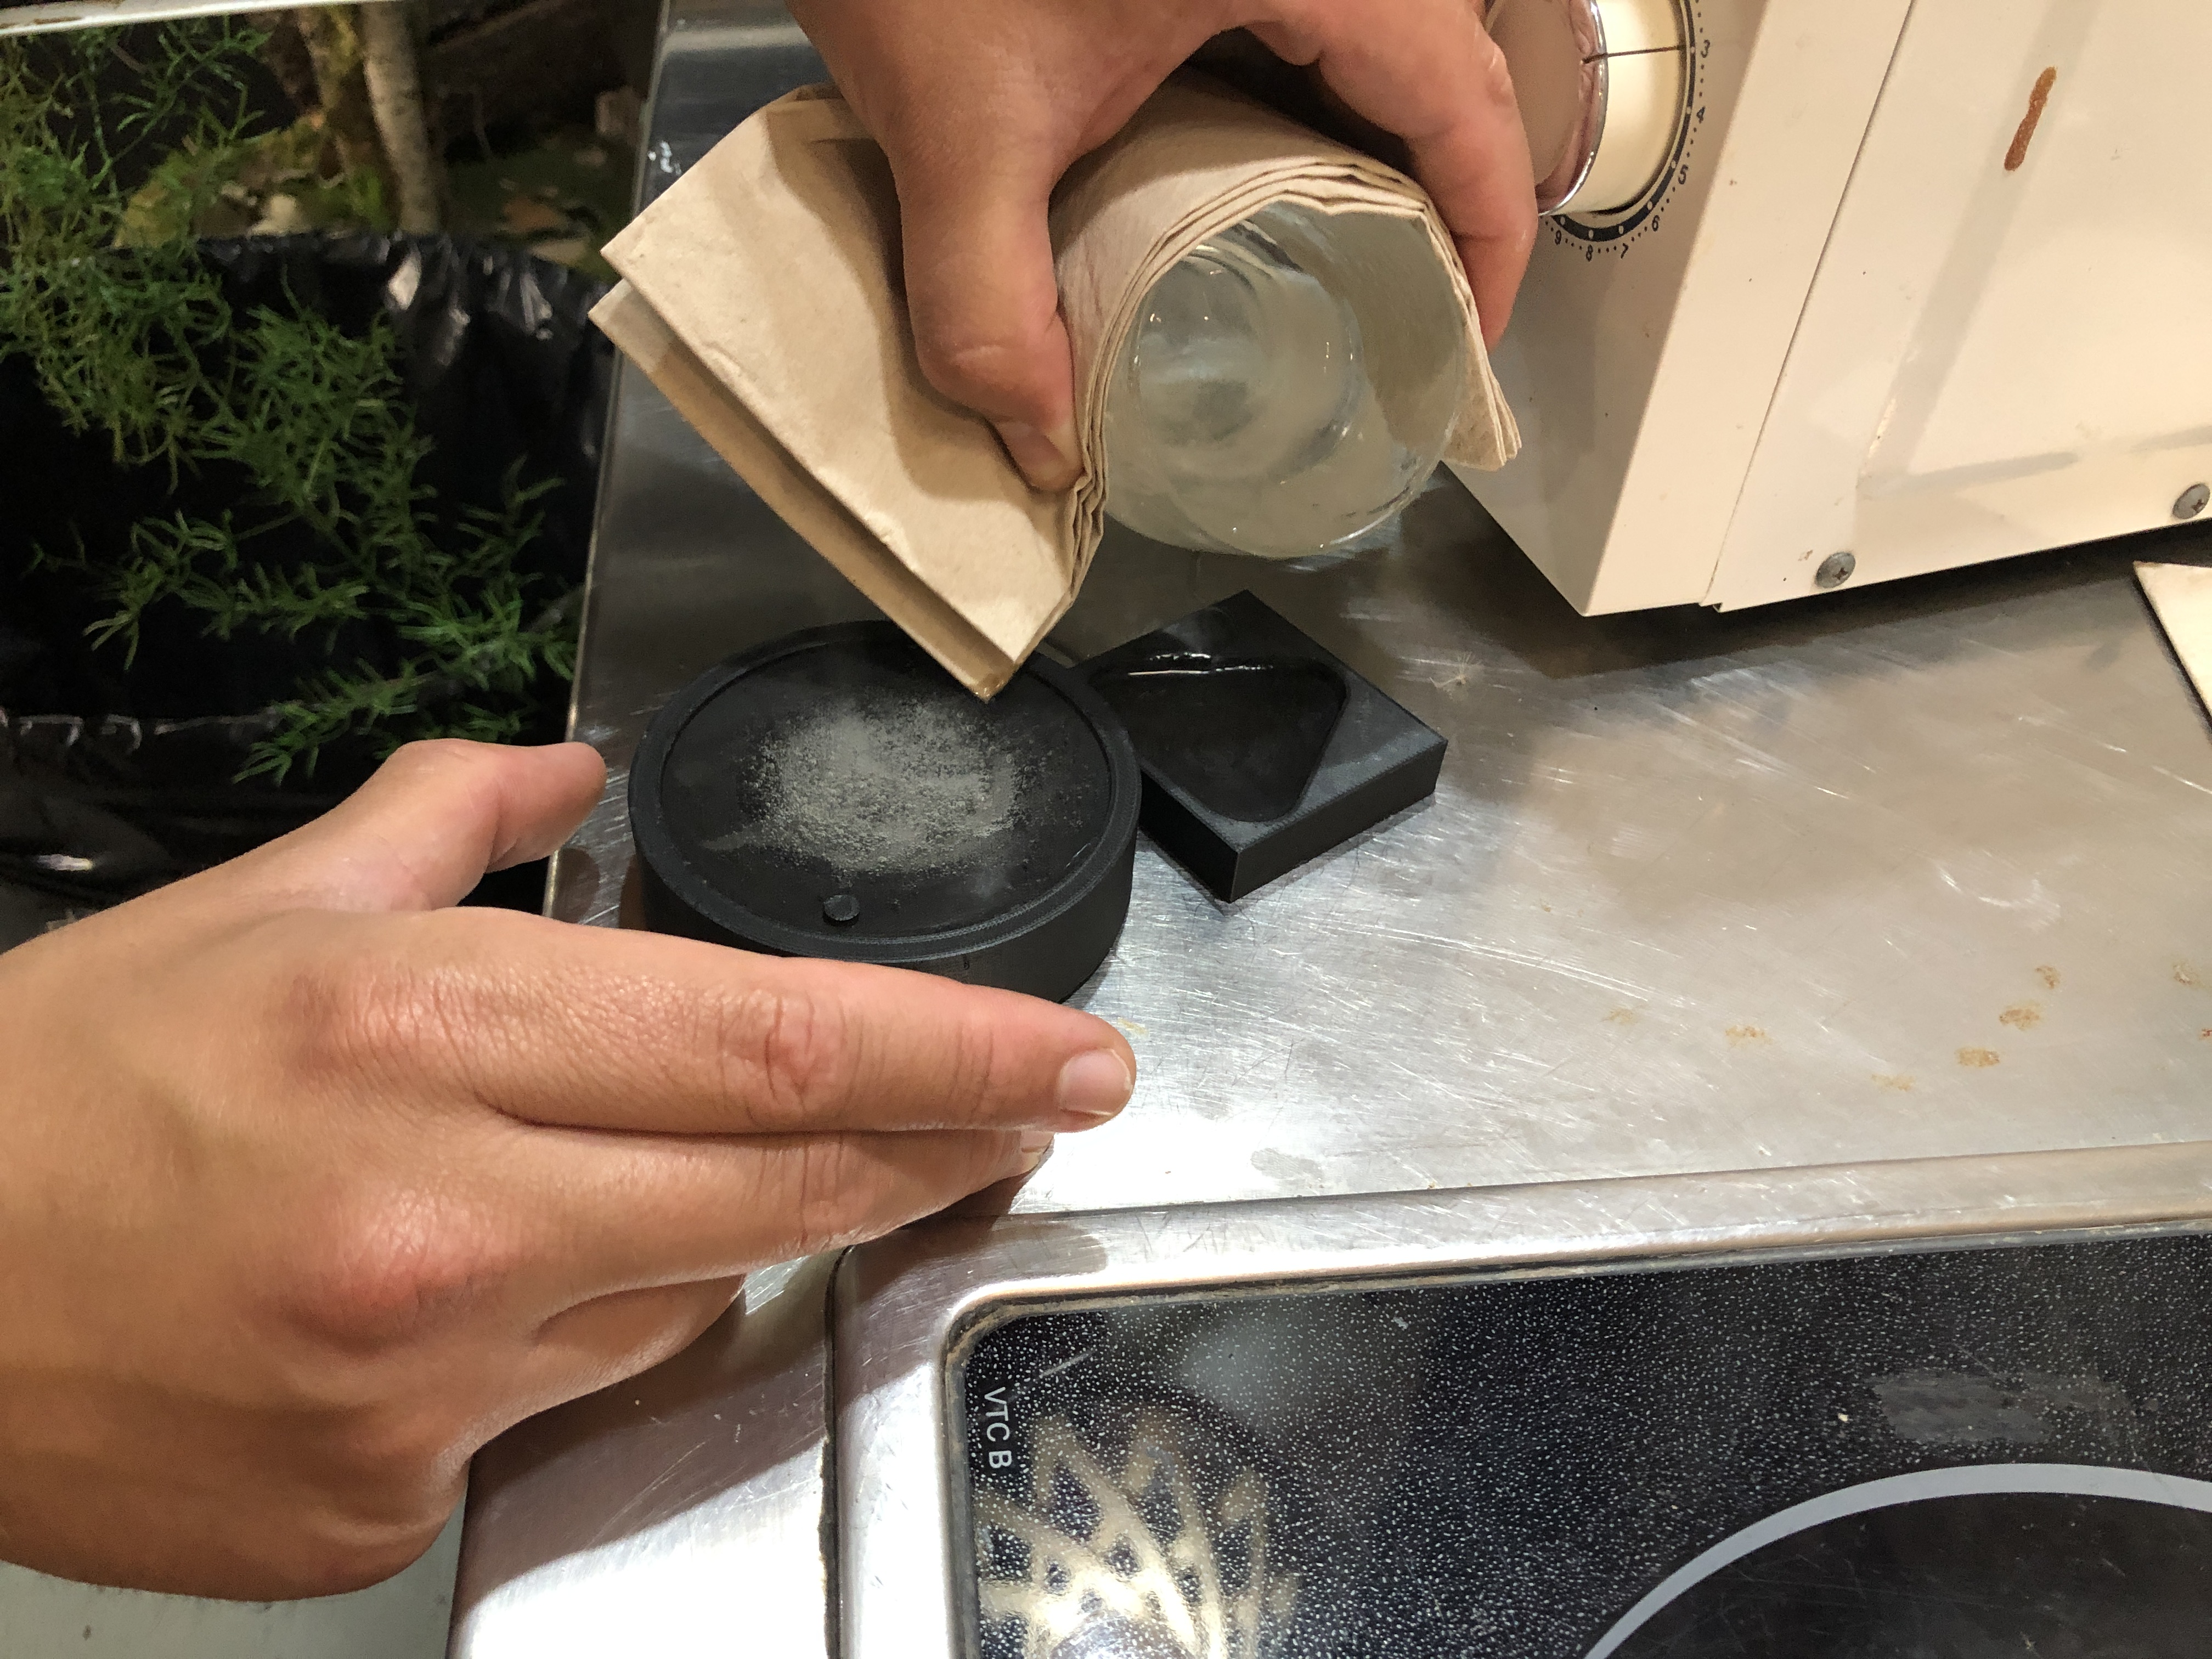
Pouring the mixed biomaterial after heating.

The outcome after 2h of drying. As it can be seen, the drying process should be continued to preserve the form and avoid deformations by touch.
Further Links
Molding and Casting
molding
types
injection (sprue, runner, gate, vent, parting line, flashing)
insert, overmolding
vacuum
blow
rototional
vacuum, pressure assisted
die, investment casting
flexible, soft, short-run production
mold, parts, frame, registration
video
vendors
Smooth-On
Reynolds Advanced Materials
Dick Blick
West Marine
USG
Chockfast
Aremco
Protolabs
materials
low-temp wax
machineable wax
DIY
rigid foam
gesso, epoxy, shrink wrap, hot air
wood
alginate gel
urethane rubber, plastic, colorants
clear rubber
epoxy
silicone, FAQ, high-temp, PDMS
latex
thermoplastic, thermoset polymers
calcium sulfate
desicant, coagulant, plaster, gypsum, drywall
Drystone
Portland cement
calcium silicate, aluminum/iron oxide, calcium sulfate
Hydro-Stone
metal
Cerrotru
casting polishing
aluminum
clay
sand
glass
ceramic
food
natural
additives
fibers (tension, compression, composites)
fillers: density, conductivity, flexibility, ...
processing
workspace
testing
mixing
water capacity
weight vs volume
consistency
striations
time
work
demold
filling
pouring
starting
vent location
submerging
bubbles
stirring, pouring, vibrating, painting, vacuum, pressure, time
curing
polymerization
cross-linking
hydration
endothermic
exothermic
demolding
draft angle
release agents
dilute dish soap, vaseline, talc, ...
deformation
storage
shelf life
safety
warnings
SDS
ventilation
protection
disposal
machining
surface finish
rough, finish, stepover
tool types
flat end, ball end, bull nose
extra long, long neck, tapered
micro
strategies
cut depth, shank, collet, collision, slope
software
ShopBot VCarve Pro
Fusion 360
Moldflow
Solidworks
Plastics
FreeCAD Path
experimental
mods
rough
finish
assignment
group assignment:
review the safety data sheets for each of your molding and casting materials,
then make and compare test casts with each of them
extra credit: try other molding and casting processes
individual assignment:
design a mold around the stock and tooling that you'll be using,
mill it (rough cut + three-axis finish cut),
and use it to cast parts
extra credit: use more then two mold parts